
Repotting is the plant care task most owners avoid longest. It seems intimidating, messy, and easy to do wrong. In practice, repotting is simpler than most plant care advice suggests and often essential for continued plant health. Unrepotted plants become root-bound, nutrients deplete, soil compacts, and growth slows dramatically.
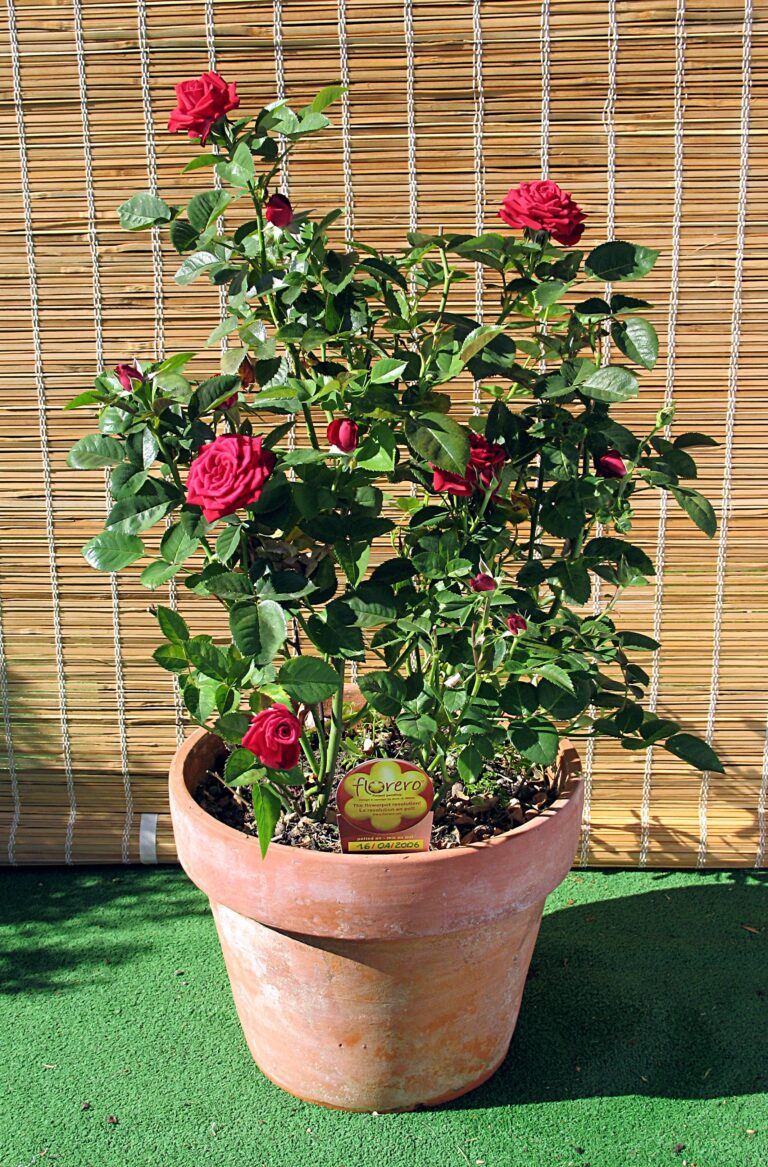
This guide covers exactly when to repot, how to do it without stressing the plant, and the mistakes that turn a healthy repotting into plant damage.
Quick Answer: When and How to Repot Indoor Plants
Repot indoor plants every 1-3 years, or when you see signs: roots growing out of drainage holes, soil drying within days of watering, plant drying out faster than before, visible root mass pushing up soil surface, or stunted growth despite good care. The process: choose a pot 1-2 inches wider, use fresh well-draining soil, gently loosen roots, replant at the same depth, water lightly, wait 5-7 days for normal watering. Spring is the best season for repotting.
Why Repotting Matters
Plants in pots face limitations that don\’t exist in nature:
- Nutrient depletion: potting soil nutrients exhaust in 2-3 months; the plant consumes them
- Root crowding: roots fill the pot and have no more room
- Soil compaction: repeated watering compacts soil over years, reducing drainage and airflow
- Salt buildup: fertilizer salts accumulate and damage roots over time
Repotting addresses all four issues simultaneously. Fresh soil, larger root space, aerated medium, salt-free environment.
Signs Your Plant Needs Repotting
Physical signs
- Roots growing out of drainage holes: the clearest indicator. Plant needs more room.
- Roots circling inside the pot: visible when you slide the plant out. Indicates pot is tight.
- Roots lifting the plant above soil level: root mass pushing up through drainage.
- Pot cracking or bulging: root pressure expanding the pot.
Watering signs
- Soil dries within 1-2 days of watering: root mass crowding out soil volume.
- Water runs straight through pot: soil became hydrophobic or too compacted.
- Soil pulls away from pot edges: severe shrinkage indicates old compacted soil.
Growth signs
- Stunted or stopped growth: despite adequate light and water.
- Smaller new leaves: plant cannot produce full-sized leaves with exhausted soil.
- Yellowing despite good care: nutrient deficiency from depleted soil.
- Plant tripled in size since purchase: obvious overgrowth.
Age signs
- Plant has been in the same pot 2+ years: time-based indicator.
- White crust on soil surface: salt buildup that flushing alone can\’t fix.
When NOT to Repot
- Plant is stressed or recovering: wait until healthy before adding repotting stress.
- During flowering: disrupts bloom cycle. Wait until flowers fade.
- Winter: plants in dormancy take longer to recover from repotting.
- Within 1 month of purchase: let newly purchased plants acclimate first.
- If plant is root-bound but otherwise thriving: some plants (peace lily, snake plant) prefer being root-bound.
Step-by-Step Repotting
Step 1: Choose the right time
Spring is ideal (March-May). Plant is entering active growth and recovers faster from repotting stress. Avoid repotting in winter.
Step 2: Choose the right pot
New pot should be 1-2 inches wider in diameter than current pot. Larger jumps risk root rot from excess wet soil. Must have drainage holes. See our best pots for indoor plants guide.
Step 3: Prepare fresh soil
Use potting mix appropriate for your plant. Standard indoor mix with perlite for most tropicals; cactus/succulent mix for drought-tolerant plants. See our best soil for indoor plants guide.
Step 4: Remove the plant from its current pot
Water plant 1-2 days before repotting to make soil easier to handle. Gently tip the pot sideways and slide the plant out. If stuck, squeeze sides of plastic pots or slide a knife around the inside edge.
Step 5: Inspect and prepare the root ball
Gently loosen the outer root mass with your fingers. For tightly bound roots, gently tease or cut the outer ring to encourage outward growth. Trim any black, mushy, or dead roots with sterilized scissors.
Step 6: Add soil to new pot
Place 1-2 inches of fresh soil in the bottom of the new pot. Enough so the plant sits at the same depth as before (not deeper, not shallower).
Step 7: Position the plant
Center plant in new pot. The top of the root ball should be 1 inch below the pot rim. Fill soil around the sides, tamping gently to eliminate air pockets but not compacting heavily.
Step 8: Water lightly
Water until you see water draining from the bottom. Drain fully. Empty the saucer.
Step 9: Wait before normal care
Don\’t water again for 5-7 days. Disturbed roots need time to heal. Don\’t fertilize for 3-4 weeks.
Step 10: Place in medium light
Avoid direct sun during recovery (2-3 weeks). Medium indirect light supports recovery without adding stress.
Pot Size Selection
The 1-2 inch rule
Most plants benefit from going up 1-2 inches in pot diameter. Going larger (3+ inches) leads to root rot because the plant cannot use all the excess soil.
Exceptions
- Fast-growing young plants: may need 2-3 inch jumps to accommodate vigorous growth.
- Root-bound plants in poor condition: significantly larger pot to provide immediate root expansion.
- Plants that prefer being root-bound: peace lilies, snake plants, ZZ plants, spider plants benefit from slight tightness.
Same-size repotting (refresh)
Keep the same pot but refresh soil and trim root ball. Good for plants that have reached their max size in the current pot but need soil renewal.
Soil Refresh vs. Upsizing
Soil refresh (same pot)
Remove plant, shake/rinse off old soil, trim root ball if needed, repot in same container with fresh soil. Useful when plant is happy with current size but soil is exhausted.
Upsizing (bigger pot)
Move to larger pot with fresh soil. Allows growth to continue. Most common repotting scenario.
Downsizing (smaller pot)
Rare but occasionally needed. Plants that lost significant root mass to rot may need smaller pots to avoid saturated soil. Temporary measure.
Plant-Specific Repotting Notes
Snake Plants
Prefer being root-bound. Only repot when roots are visibly cracking the pot or pushing up significantly. Repot every 3-5 years rather than every 1-2.
ZZ Plants
Very slow growth means repotting only every 2-3 years. Handle rhizomes carefully; they break easily.
Peace Lilies
Enjoy being slightly root-bound (flowers more reliably). Repot every 2-3 years.
Pothos and Philodendron
Fast-growing, often need repotting every 1-2 years. Can be trimmed aggressively during repotting.
Succulents
Prefer slightly tight pots. Repot every 2-3 years. Use cactus mix, not standard potting soil.
Orchids
Use orchid bark, not soil. Repot every 2-3 years or when bark breaks down. Different process from soil plants.
Ferns
Grow dense root mass. Benefit from repotting every 2 years with loose, airy soil mix.
Common Repotting Mistakes
Mistake 1: Jumping multiple pot sizes at once
Going from 4-inch to 10-inch pot causes root rot. Stay within 1-2 inches larger.
Mistake 2: Using garden soil
Outdoor garden soil compacts in pots and holds too much water. Always use potting mix specifically formulated for indoor plants.
Mistake 3: Watering too much after repotting
Disturbed roots can\’t absorb much water. Keep soil barely moist for first 2 weeks, then resume normal watering.
Mistake 4: Fertilizing too soon
Fresh soil has starter nutrients. Wait 3-4 weeks before first fertilizing after repot.
Mistake 5: Repotting at the wrong time
Winter repotting stresses plants. Wait until spring for most species.
Mistake 6: Not loosening the root ball
Tightly bound roots continue to circle in new pot. Gently tease outer roots outward to encourage expansion.
Mistake 7: Burying the plant deeper
Plant should sit at same depth as before. Burying deeper risks stem rot; planting shallower exposes roots.
Care After Repotting
Week 1
Water lightly once. Don\’t fertilize. Keep in medium light. Avoid moving or rotating. Some leaf drop or drooping is normal acclimation.
Week 2
Resume normal watering schedule (based on soil moisture). Still no fertilizer. Gradually return to normal light conditions.
Weeks 3-4
Full normal care resumes. First fertilizing can occur at end of week 4 at half strength.
Months 2-3
New growth should emerge. If plant still looks stressed after 6 weeks, investigate further (check roots, light, watering).
FAQ
How often should I repot my houseplants?
Most plants need repotting every 1-3 years. Fast-growing plants (pothos, philodendron) every 1-2 years. Slow-growing plants (snake, ZZ) every 2-3 years or longer. Signs of need matter more than calendar scheduling.
Can I repot in winter?
Not ideally. Winter repotting takes longer to recover from because plants are in dormancy. Wait until spring unless urgently needed (root rot emergency).
Should I water before or after repotting?
Water 1-2 days before repotting to make soil easier to handle. Don\’t water immediately after repotting — wait 24 hours. Then water lightly.
Do I need to break up the root ball?
For tightly bound roots (circling the pot), yes. Gently tease outer roots outward. For moderately bound roots, light loosening is sufficient. For loose root balls, minimal handling.
What if my plant is root-bound but thriving?
Some plants (peace lilies, snake plants, spider plants) actually prefer being root-bound. If the plant is healthy and growing, you can wait longer to repot. When you do, upsize only slightly.
Can I save a plant with severe root rot by repotting?
Yes, if enough healthy roots remain. Remove all rotted tissue, rinse healthy roots, let them dry 24 hours, repot in fresh soil. Reduce watering for several weeks. See our root rot treatment guide.
Do I need a new saucer with a new pot?
Not always, but new saucers ensure proper fit and prevent water overflow. Check your existing saucer is the correct size for the new pot.
Repotting Is Routine, Not Intimidating
Once you repot your first plant, the process feels simple. The key principles: choose correct pot size, use fresh appropriate soil, gently handle roots, water lightly, wait before normal care. Every 1-3 years, your plants benefit from this renewal.
For pot selection, see our best pots for indoor plants guide. For soil choices, the best soil for indoor plants guide covers the essentials. For broader care fundamentals, see our care hub.
Repotting is renewal. Your plants get fresh conditions; you get continued healthy growth.
Related reading: For the broader context, see the complete guide to hard-to-kill houseplants, all care fundamentals, houseplant troubleshooting hub.
For broader gardening-science perspective on repotting timing, the Royal Horticultural Society’s houseplant resources cover repotting frameworks.